After managing to set aside a couple of hours, I was ready to clean and set up the telescope for some serious stargazing. It's been several months since I last used my Newtonian reflector--the Indian monsoon facilitates stargazing about as much as a hurricane does building a house of cards. Now that the Indian winter is upon us (yes, all 24 degrees of it--Centigrade!), the skies are finally clear with some of the most gorgeous constellations visible.
It all had to start with extracting the telescope from that inconveniently unreachable spot under the bed. Shuddering to think of what months of neglect would do to the telescope, I pulled out the large 4-foot bag (after moving several unknown, dusty boxes out of the way), and marveled at the way it was completely overrun with dust bunnies. Clearly, the first order of business was to wipe and wash it down. Without actually unzipping it and having those tufts of dust attack any of the components, I used a bit of elbow grease and got the bag to a relatively decent, presentable state.

Next, I gingerly opened the bag, hoping to discover the insides were spared of the under-bed filth. Fortunately it was, but only just. It beats me how dust finds its way into sealed zippers and plastic bags: the entire telescope assembly was coated with a fine layer of dust, enough to sign my name on.
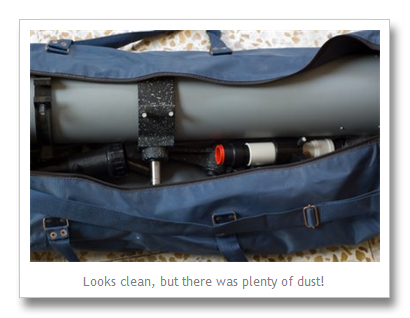
Armed with a damp cloth, I got down to cleaning all the telescope's components and accessories. Here's what I was up against:
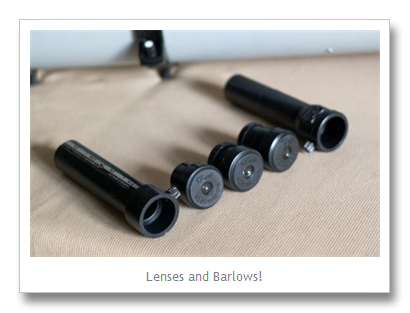
From left to right, there's the 1.5x - 3x variable Barlow, the three eyepieces (12mm, 17mm and 25mm), and the fixed 4x Barlow. These eyepieces provide different levels of magnification, and the Barlows are used to increase the effective magnification of the eyepieces when used in conjunction. There was also the 4-foot telescope tube and the wrought iron tripod that needed wiping down.
I started out by disassembling each of the eyepieces. Each eyepiece is composed of two half-convex lenses that provide a fixed magnification. Instead of using a single lens, a pair of lenses are used for better image clarity and lower distortion. I cleaned each of these two little lenses with a soft cloth, and re-mounted them with their convex sides facing each other inside the eyepiece.
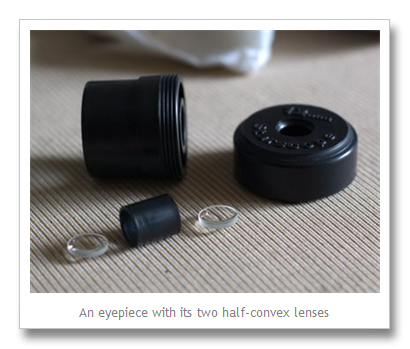
Here's what a half-convex lens looks like:
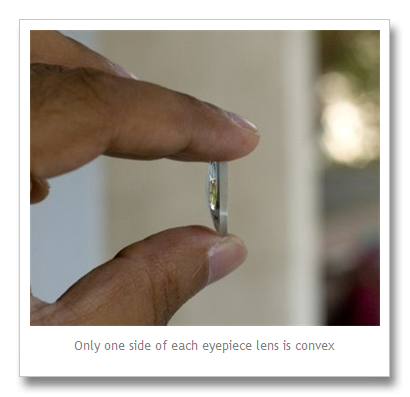
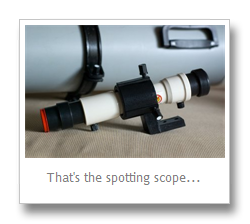
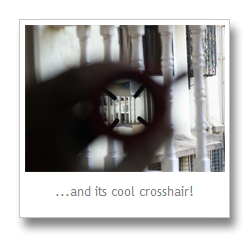
After cleaning all of the eyepieces, I focused on the spotting scope. The field of view in an astronomical telescope can be really small--especially at higher magnifications--making it painful to hunt around the sky while searching for Saturn or Andromeda. That's where the spotting scope comes in. This is a mini-telescope that is mounted on the main telescope. It helps find those elusive planets and stars in a crowded sky. There's a cool-looking cross hair in the telescope that enables you to pinpoint a celestial object, making it easier to view through the main telescope.
 |  |
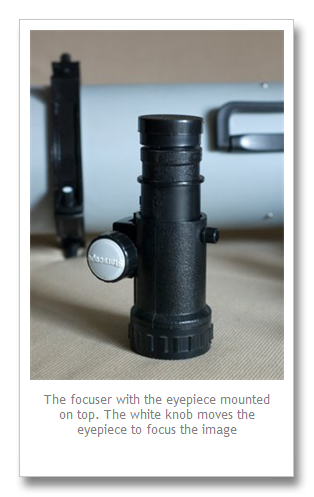
Next up was the focuser--this is a rack and pinion assembly that enables you to mount an eyepiece and move it back and forth to focus on a celestial object. You can change eyepieces depending on the magnification you need--a little thumbscrew holds them in place a the top of the unit.
Here's what the focuser looks like:
The secondary mirror was easier to clean because it's accessible from the open end of the tube and is small. I jiggered its alignment in the process, but I'd fix that later on during the collimation process.
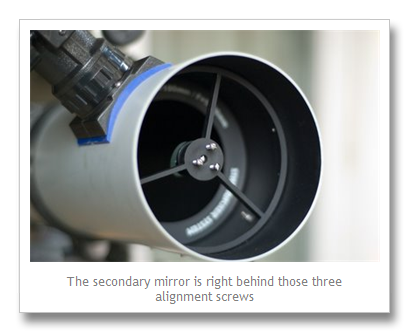
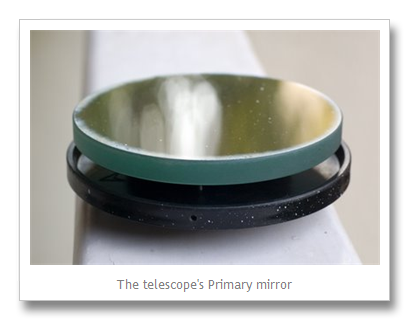
Finally, the primary mirror--the most important component in a reflector telescope. I removed it by unscrewing three screws and extracting it along with its base. After all those years, it showed signs of age with tiny pitting and visible dust grains.
The best advise for cleaning any of the mirrors in a telescope is--DON'T! These mirrors are precision ground, and the reflective coating is on the outside (unlike ordinary household mirrors), making it easy to introduce nicks and scratches if touched. And if this happens, it can severely degrade viewing quality. I decided that the lens was not dirty enough to affect image quality, so I stayed off it.
Note: If you're thinking of cleaning your telescope's lenses or mirrors, see here for interesting techniques on how you can do so effectively and safely.
I was now finally ready to put these components together and get the telescope on its feet. This is how it all looked at the end of the two-hour cleaning and servicing spree:

After all the disassembly and re-assembly, the mirrors in the telescope were outrageously misaligned! So I collimated the telescope using the excellent (though involving) method described in this article from Sky and Telescope. You'll also find an excellent tutorial on collimation in this video here.
Now all I have to do is wait for the skies to clear up after the brief buildup of smog due to the Diwali firecrackers. Then, Orion--here I come!
Note: You'll find more details about my telescope's specifications in my previous blog entry.
 My fascination for photography stems from a more deeply rooted passion for all things optical. I've always loved lenses and mirrors, and the funky things they do to light. Back in school, physics was never a subject--it was a thrill. A large part of this was due to my being introduced to this subject outside of the classroom. I inherited my dad's fascination with the subject, and he introduced me to the practical world of science at about the same time that
 Given the multitude of choices these days, its easy to get lost in all the jargon while shopping for an LCD or Plasma television.
 These days we are pampered for storage space. With game-changing inventions like

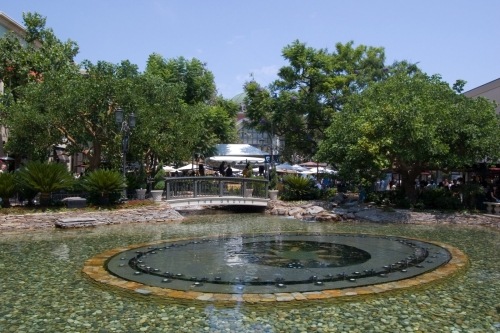

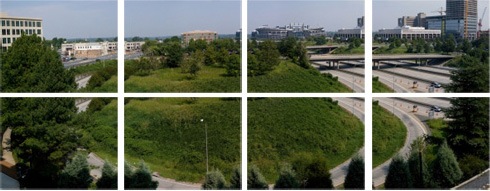 if it's a vertical pan, shoot top to bottom. AutoStitch does not mandate any specific sequence for shooting the images, but it is very important that the borders of each image overlap with the adjacent one by at least 20 percent. If the images do not overlap, it will result in errors and 'tears' in the final stitched image.