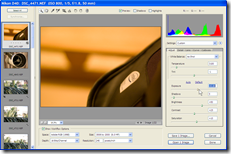
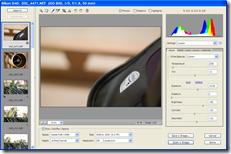
I recently had the opportunity to put this fine photo editing application through its paces--one of my cousins got married a couple of days ago, and I shot about 350 RAW images across the different marriage ceremonies (you'll find some on my Flickr Photostream). Faced with the prospect of churning out high-quality images from these RAW images in record time, I happily dug into the famed Lightroom 2 workflow. After several bouts of trial and error with color configurations and tweaking sequences, I arrived at the following workflow which I believe enabled me to extract the maximum quality from my RAW images in the shortest possible time. Remember that I already used Presets and Default settings to bring my photos to a more natural, higher-quality level before performing editing individual photos using the following steps.
| 1. Crop the photo: The crop tool can spell the difference between a good photo and a great one. While in the Develop module, hit [R] on the keyboard or click the Crop overlay icon indicated in the adjoining screenshot. Use the mouse to draw a box that defines the crop you need, or simply drag the control points of the crop box and pan the image until you're satisfied with the most interesting frame. Hit [Enter] to apply the crop. |  |
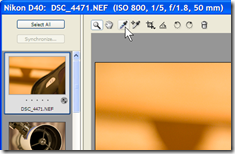
| 2. Adjust White Balance if necessary: From the Basic settings in the Develop panel, click the dropper icon (indicated), and click on a gray or white portion of your photo. This will fix any color cast that might exist. Alternatively, you can intentionally invoke a color cast by playing around with the Temperature slider (labeled Temp) to impart a warmer or cooler color tone to your photo. |  |
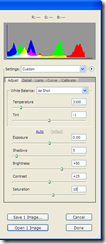
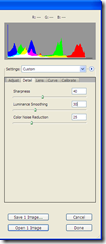
| 3. Adjust Exposure: Now begins the meat of your editing. For the majority of your images, you can move the exposure slider until the Histogram graph spreads evenly, without clipping in the highlight (right) area. 4. Adjust Blacks: Adjust the Black level until the left side of the graph tapers off without bunching up against the left edge. 5. Adjust Fill Light: Fill light refers to the light in the shadows of your image. Increasing this slider value will bring out some detail in these darker areas of your photo. 6. Adjust Recovery: This refers to highlight recovery, and is used to recover detail from highlight areas that might be blown out. Be careful with this setting--increasing it too much might make your image appear unnaturally flat. 7. Adjust Brightness/Contrast: Play the Brightness slider against the Exposure slider to get the colors and balance your image just right. Remember that the lower the brightness, the better will colors show through. |  |
These steps will get you off to a good start with bringing your images to a high-quality level. Next up, I'll focus on some Lightroom 2 tricks that will help enhance specific photos, like those of people, landscapes or food.
Update: Head over here to learn tricks for creating portfolio-quality portraits using Lightroom 2!


